
How to Photograph Items for Resale Research
Take photos that make the right item searchable.
To photograph an item for resale research, take one clean overview, then separate close-ups of identity, condition, and completeness. The goal is not a pretty listing photo. It is a small evidence set that helps you distinguish the exact item from something that merely looks similar.
1. Put one item in charge of the frame.
Move neighboring objects, price signs, hands, and busy backgrounds out of the way when you can. Photograph one item from far enough back to include its full outline, but close enough that it occupies most of the frame. This prevents the first failure mode: the camera or search system choosing the chair behind your lamp instead of the lamp you meant to research.
2. Make the overview boring, bright, and sharp.
Use even light, hold the camera parallel to the main face of the item, and tap the object on screen to focus. Avoid digital zoom; step closer. If the shutter speed is struggling in a dim garage, brace your elbows or set the item near open shade. A dramatic angle can hide proportions and turn a simple model match into guesswork.
3. Give identity clues their own photo.
Take a close-up of each clue that could change the search: maker mark, model number, barcode, signature, pattern name, size label, material stamp, patent number, country of origin, or distinctive hardware. Keep the clue square to the camera and readable at full size. Do not make a search tool extract a tiny model number from the corner of a wide room photo.
- Front or overall shape
- Back, base, or underside
- Maker mark, model, barcode, or label
- Included accessories and proprietary parts
- Damage, repairs, wear, and missing-piece areas
4. Photograph the flaw you are tempted to ignore.
Chips, cracks, corrosion, stains, loose joints, scratches, repaired seams, cloudy lenses, and frayed cords can move a comparison into a different condition tier. Put a finger, ruler, or familiar object near the damage only when scale is not obvious—and never cover the flaw. This prevents the optimistic-memory problem: remembering the item as better than it was after you leave the sale.
5. Keep sensitive identifiers out of public posts.
A serial number can help with private research, but it does not always belong in a public forum or resale listing. Keep the private evidence photo, then crop or obscure sensitive ownership identifiers before posting it publicly. The research copy and the public listing copy do not need to be the same image.
Where Yard Sale Treasure Finder fits
Yard Sale Treasure Finder starts from a clear photo of one item and uses visible clues to identify what to search. The app's Scan screen supports taking a photo or choosing photos, and its own tips call out the same high-value clues: brand, model, barcode, and maker mark. Better source photos do not guarantee a correct estimate, but they give the identification step better evidence.
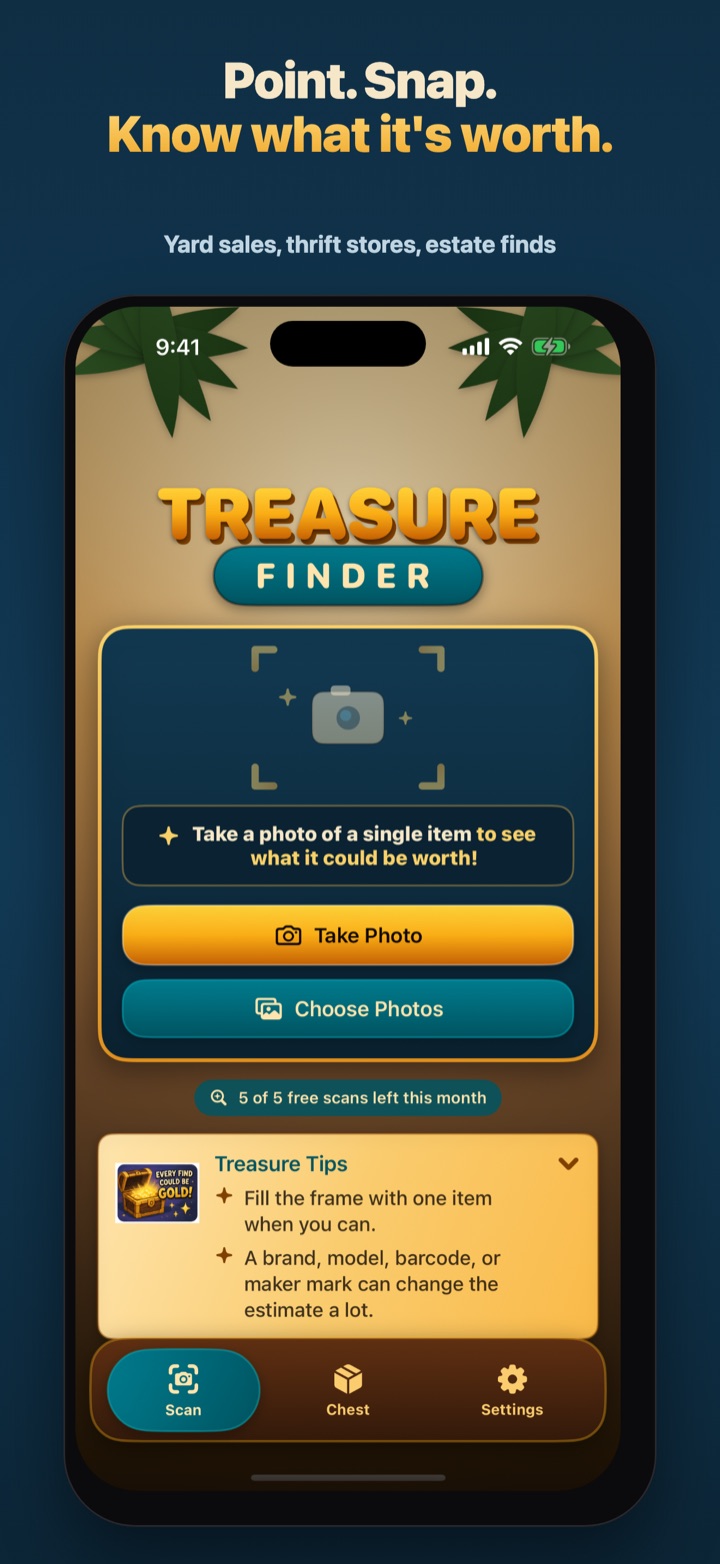
Have one item and a few useful clues in front of you?
Download on the App StoreFAQ
How many photos should I take for item research?
Start with one strong overview, then add only the detail photos that change identification, condition, or completeness. A sharp label and a clear damage photo are usually more useful than several repeated angles.
How do I photograph reflective or glossy items?
Move away from direct flash, use bright indirect light, and shift the camera slightly off-axis until glare no longer covers the mark or surface. Keep one straight reference view so shape and proportion remain easy to judge.